
Kubernetes series (Article 1)
Over the past few weeks, I’ve been working through various homelab projects, but there was one that I had been putting off for a long time. Due to limited time and resources, this special project remained on the back burner. It’s the kind of project that only makes sense when you have a dedicated environment, where making mistakes doesn’t risk losing essential data.
Experimenting with new tools is always exciting but comes with risks, especially in a live environment. A couple of years ago, I used my workstation for everything, including experimentation and learning, which meant all my data was at stake. That limited how freely I could explore.
Setting up my homelab changed everything. Now, I can experiment freely, test tools, break things, and rebuild them without fear. This mindset made this project a perfect candidate for trial-and-error learning.
One of my long-time goals has been to set up a Kubernetes cluster from scratch. You might ask, “Why do it the hard way?” To understand something, you must dive deep, face the challenges head-on, and learn to solve problems as they arise. In my opinion, Kubernetes is a complex system, and this hands-on approach is the best way to understand it thoroughly.
I used Proxmox VE to provision the project’s necessary virtual machines and infrastructure components. I deployed the Kubernetes cluster on a dedicated VLAN, isolated from the rest of my network. In the future, I may expose a few services to the internet. While I haven’t decided which ones yet, I mentioned Pangolin Server in one of my write-ups, and I might use it for secure access down the line.
This project will be an ongoing effort, and I plan to write about each major component in separate articles. Trying to cover the entire build in one go would be overwhelming to implement and explain correctly. Also, while I know there are excellent tools that can automate Kubernetes provisioning end-to-end, I’ve intentionally chosen not to use them. As mentioned, I want to experience the journey through experimentation, manual setup, and problem-solving.
Overview – Setting Up the Nodes Using Cloud Templates
Why Use Cloud Templates?
Cloud images are lightweight and optimised for cloud deployments such as AWS, GCP, and Azure. In this setup, we’ll use the Ubuntu 24.04 cloud image. I’ll walk through the essential first step of creating cloud image templates in Proxmox, which allows us to clone and deploy additional nodes whenever needed quickly. This approach is efficient and consistent, making cluster expansion easy and reliable.
Ubuntu 24.04 Cloud Image Setup (on Proxmox VE)
Creating and Configuring the Cloud Image VM Template
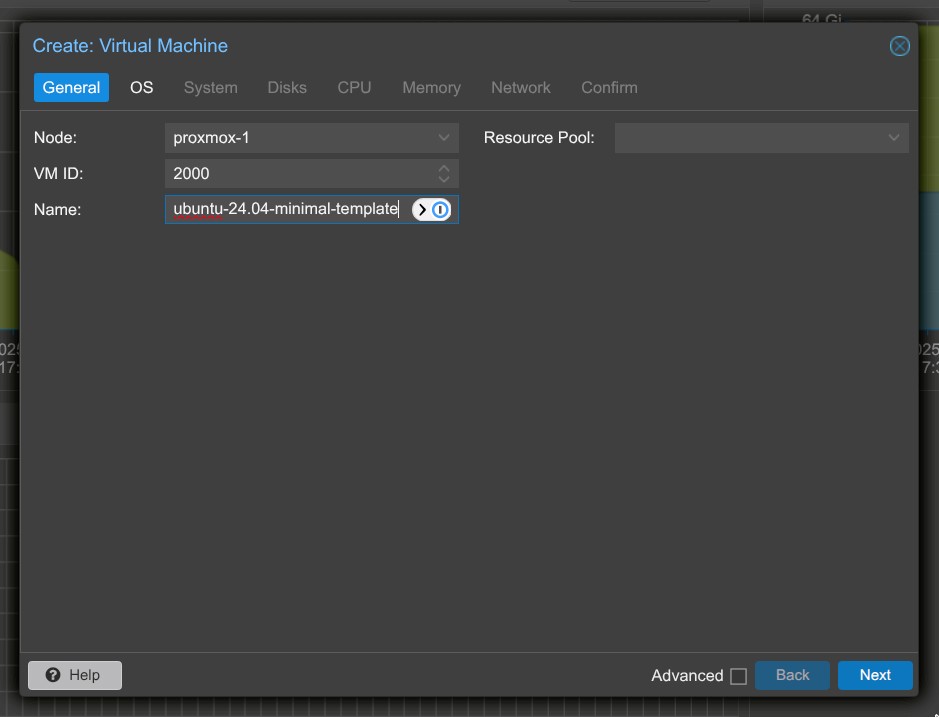
- Create a new VM in Proxmox.
2. Name: ubuntu-24.04-minimal-template
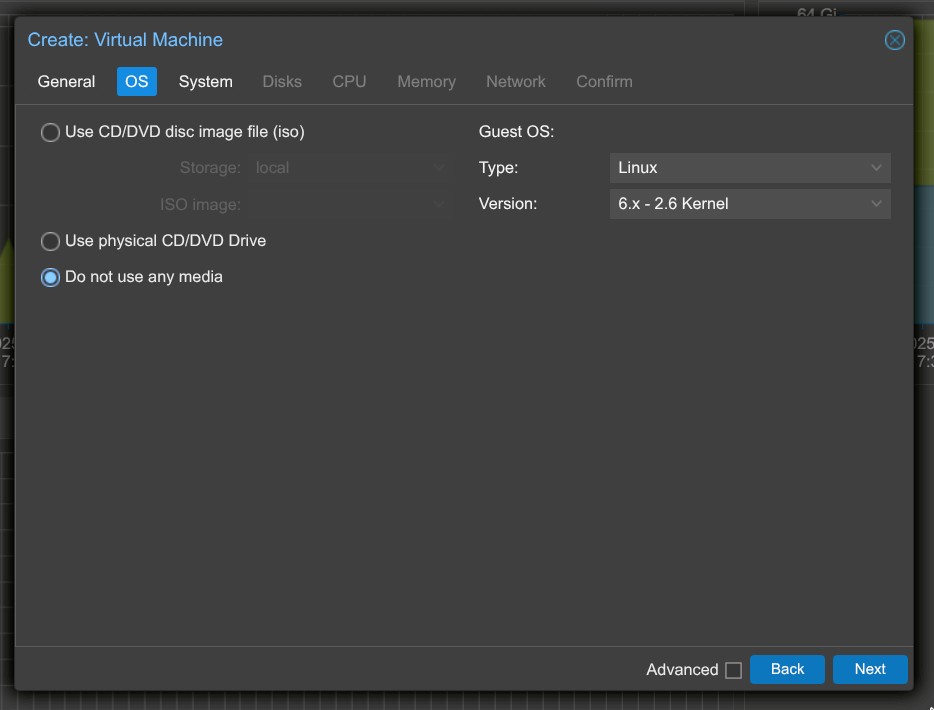
3. Operating System:
- Leave the ISO image section empty.
- Select Do not use any media; we’ll import the cloud image later.
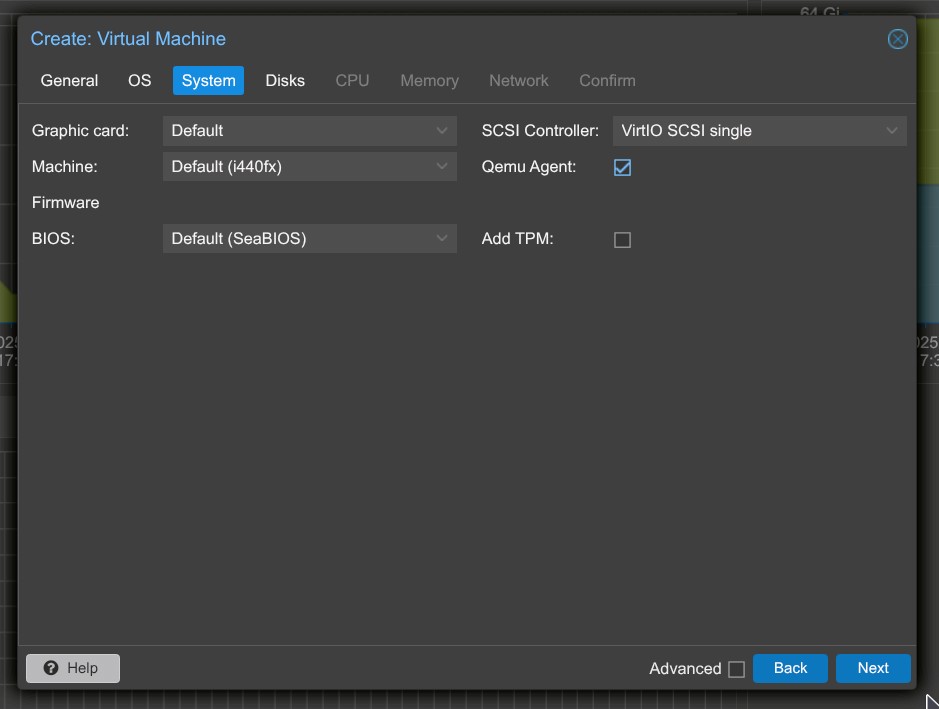
4. System Settings:
- QEMU Agent: You can enable it now, but install it inside the VM later.
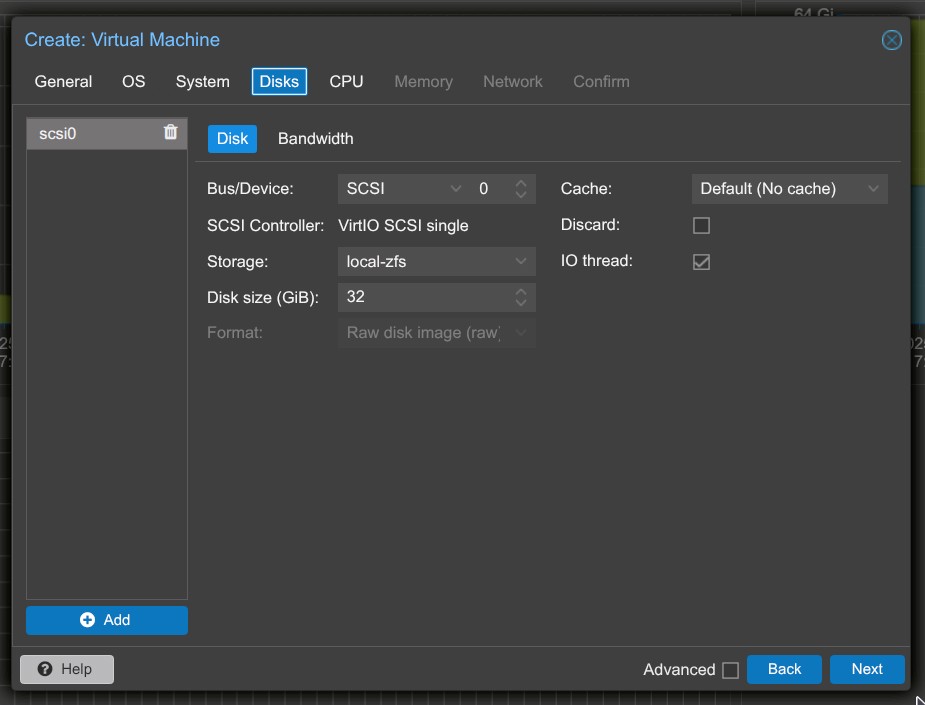
5. Disks:
- Delete the default virtual disk, since we will import our disk image later.
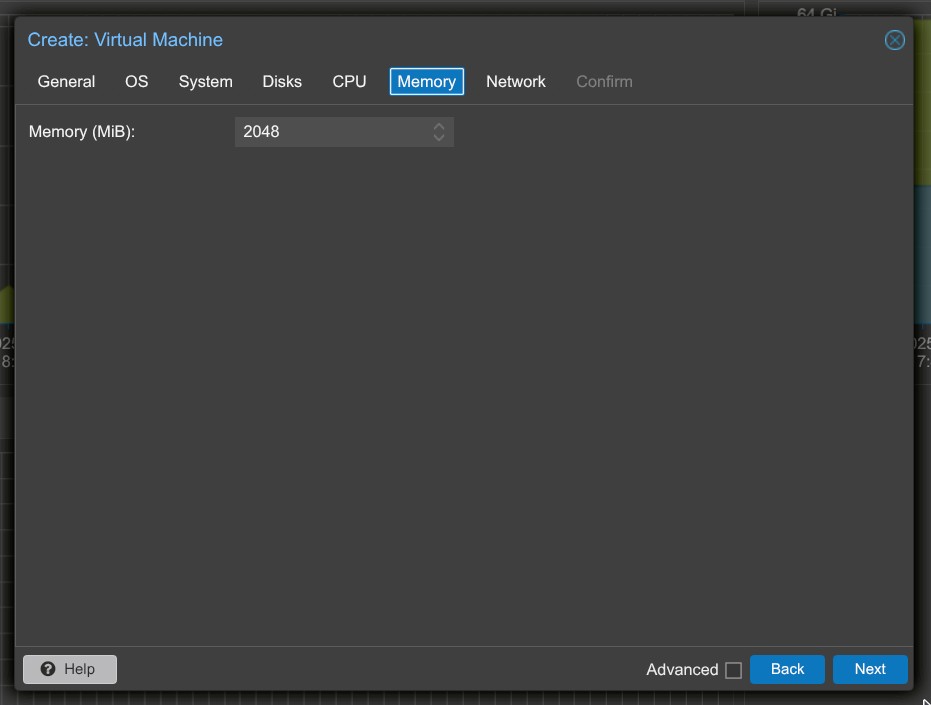
6. CPU and Memory:
- CPU: Set to 1 for now (you can increase it later).
- Memory: Set to 2 GB for now (adjustable later).
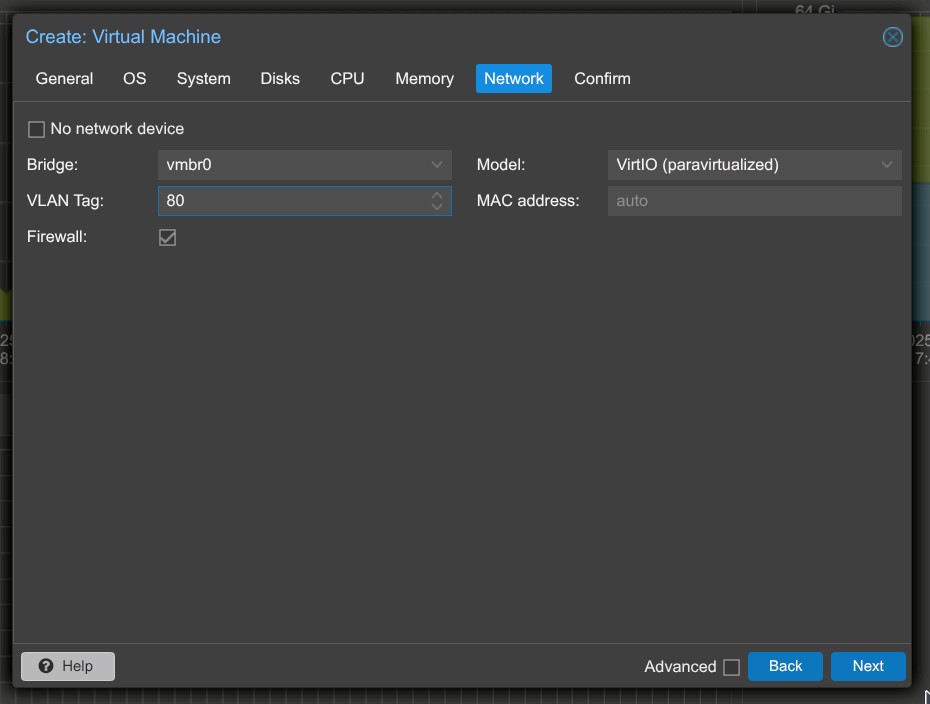
7. Network:
- Select your bridge interface, e.g.,
vmbr0. - If you’re using VLANs (like with pfSense), set the VLAN Tag (e.g.,
80for DMZ). - Ensure the Proxmox bridge is VLAN-aware.
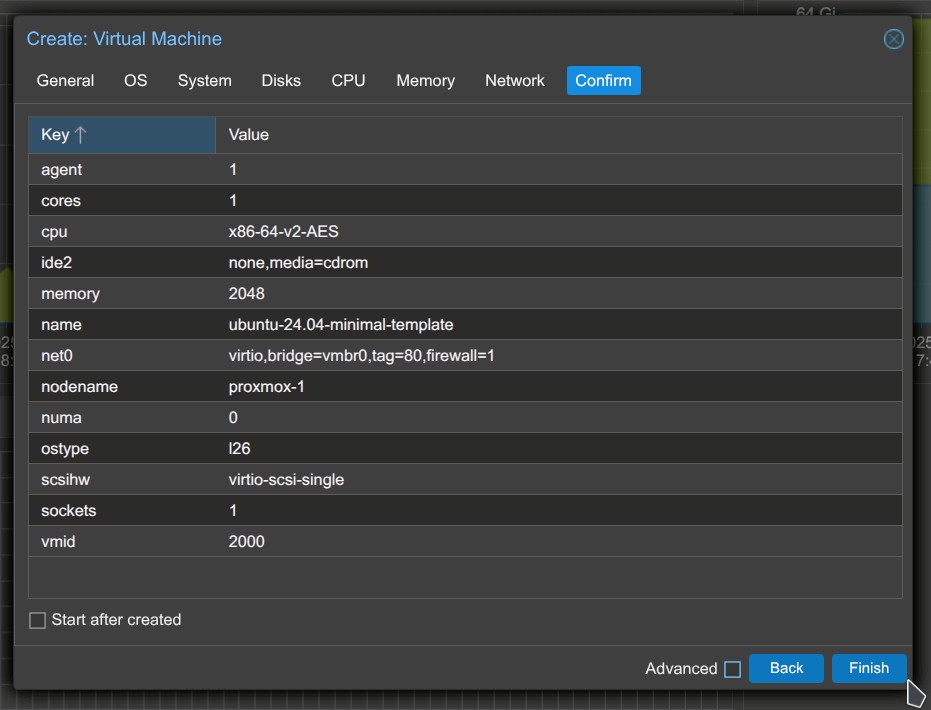
8. Review the configuration, and click Finish to create the VM.
- SSH into the Proxmox host where your VM template is located.
- Download the image:
Configure Cloud-Init
After you have clicked finish, you can return to the Proxmox dashboard.
- Go to the Proxmox Dashboard and select your newly created VM.
- Navigate to the Hardware tab.
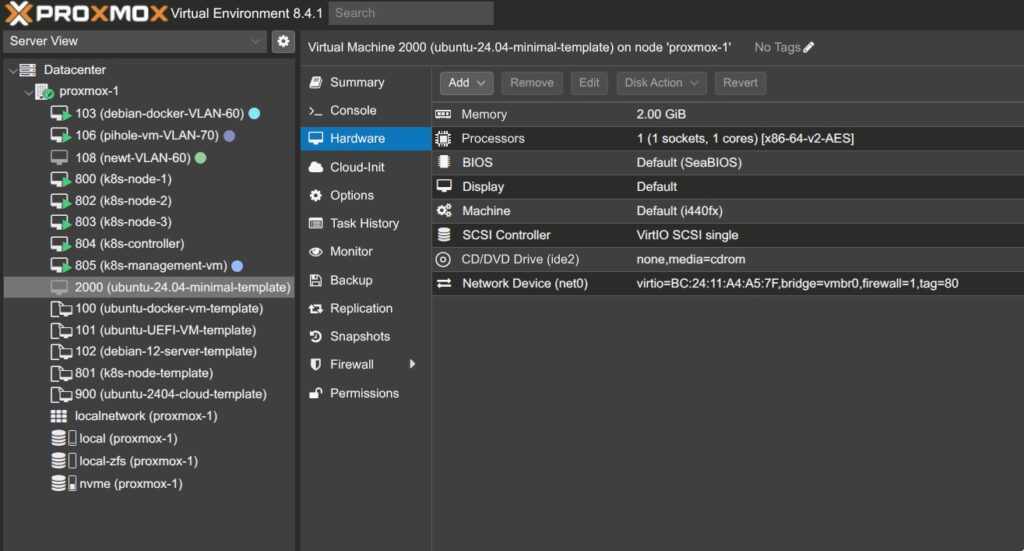
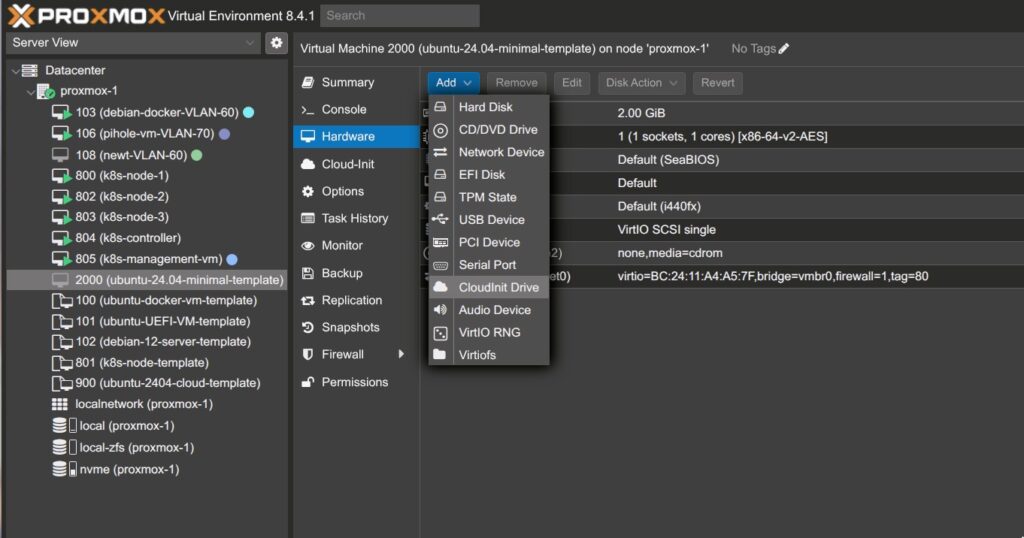
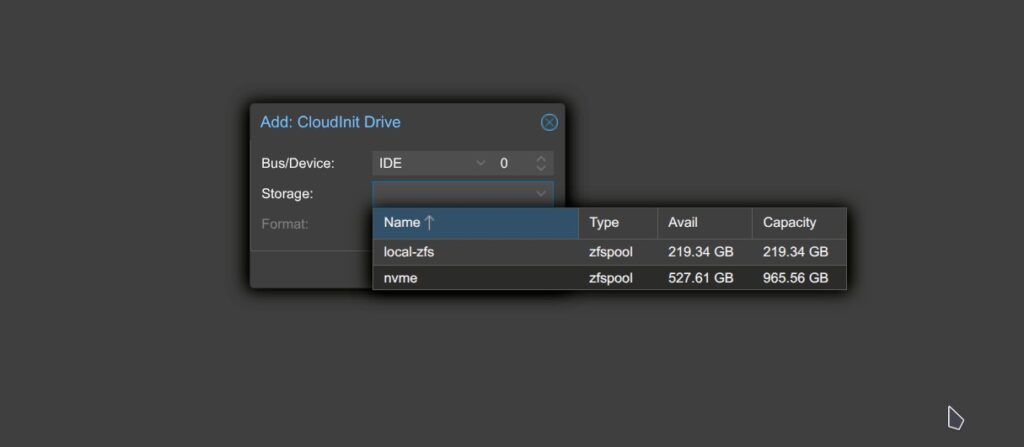
3. Click Add → choose Cloud-Init Drive.
- For storage, select your default storage pool (e.g.,
nvme).
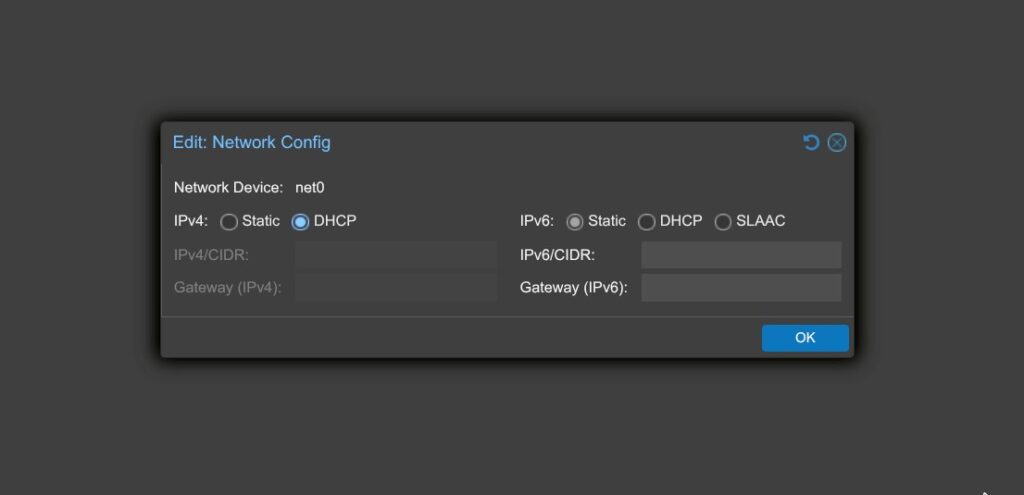
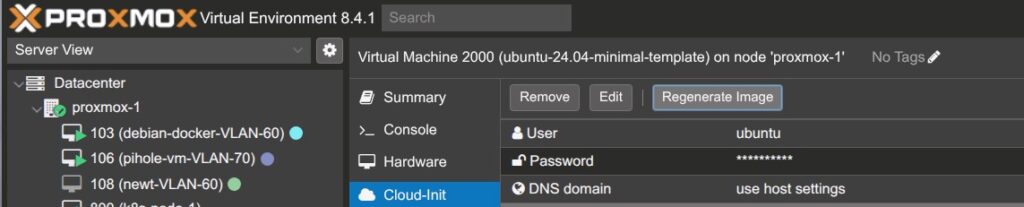
4. A new Cloud-Init section will appear in the sidebar. Configure:
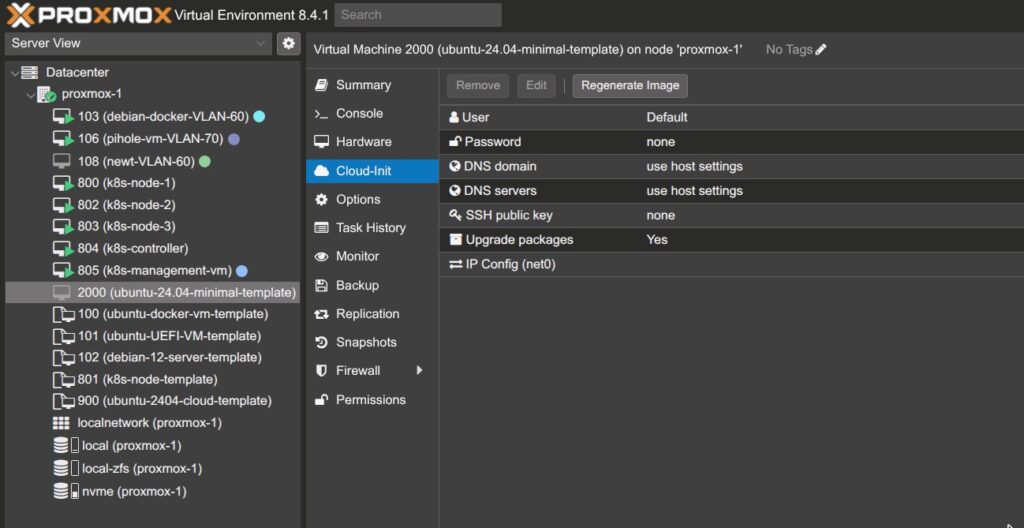
- Default username and password
- DNS domain and DNS server
- SSH public key: If you have an existing SSH key, paste the public key here so you can access the node via SSH later.
5. Networking:
- Set the IP configuration to DHCP.
- If you’re using pfSense, configure static DHCP leases based on each VM’s MAC address.
- Even if you plan to use static IPs, selecting DHCP here ensures the VM gets an IP during the first boot.
6. Once everything is configured, click Regenerate Image.
Importing the Cloud Image and Finalising the VM Template
1. Access Proxmox via SSH
Ensure you have SSH access to your Proxmox host. Connect to the same node where the VM template was created.
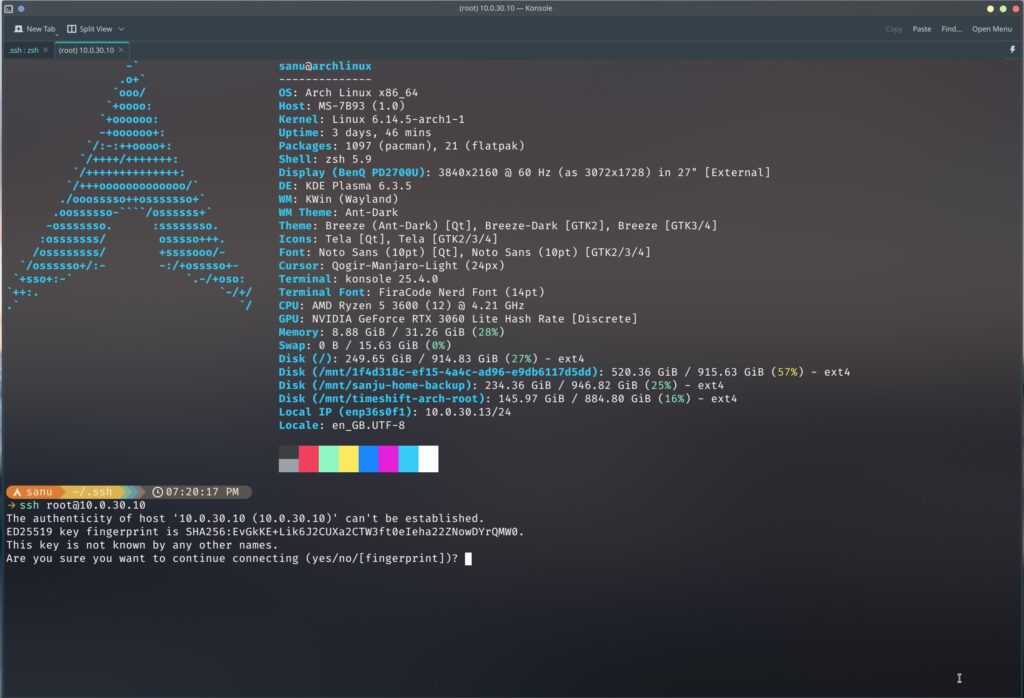
2. Download the Ubuntu 24.04 Cloud Image
Use wget to download the cloud image directly:
wget https://cloud-images.ubuntu.com/minimal/releases/noble/release/ubuntu-24.04-minimal-cloudimg-amd64.img3. Before importing the disk, run the following command to enable console access for the VM:
qm set 900 --serial0 socket --vga serial0Replace 900 With your VM ID. This step ensures you can access the VM’s serial console later, as no screen output will be available without it.
4. Rename the downloaded image for consistency:
mv ubuntu-24.04-minimal-cloudimg-amd64.img ubuntu-2404-image.qcow25. Resize the Image (Optional but Recommended)
qemu-img resize ubuntu-2404-image.qcow2 20G6. Import the disk: Now import the disk to your VM:
qm importdisk 900 ubuntu-2404-image.qcow2 nvmeThe NVMe is my default storage in Proxmox
Final Configuration in Proxmox GUI
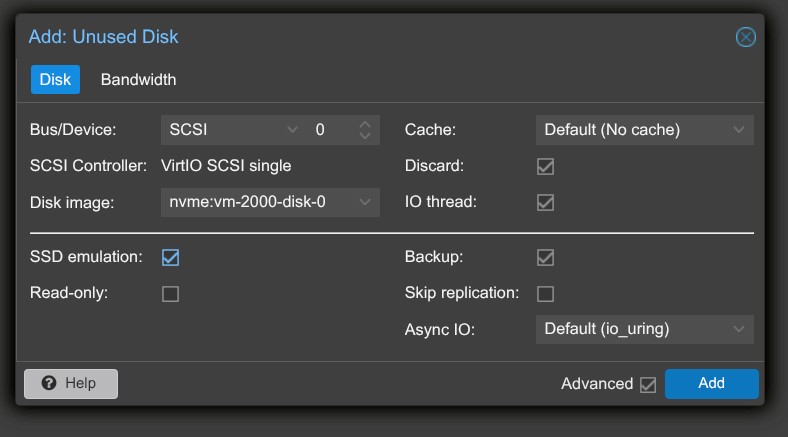
- Go to the VM’s Hardware tab. You’ll see the new disk — click Edit.
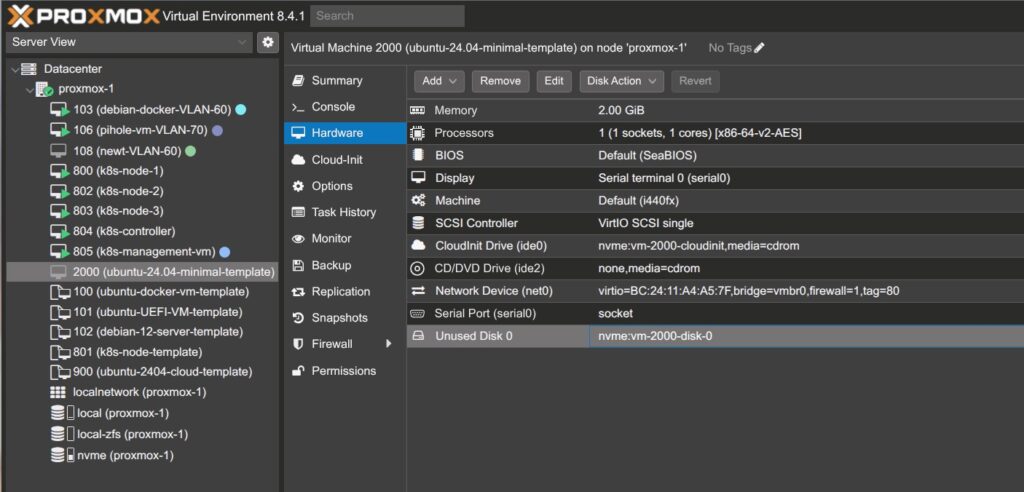
2. Enable Discard if you’re using an SSD.
3. Under Advanced, enable SSD Emulation if applicable.
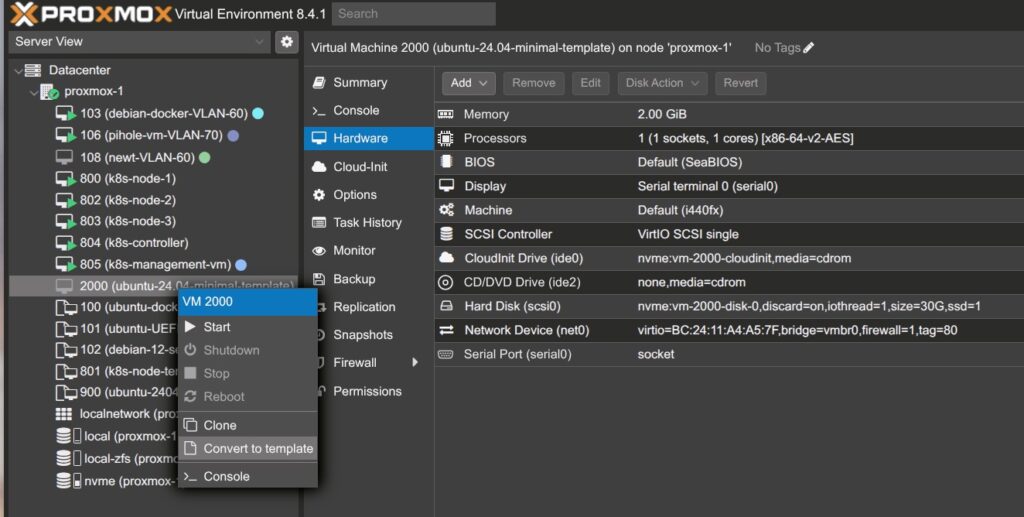
4. Go to the Options tab → set Boot Order to prioritise the imported disk.
5. Once everything is set, right-click the VM and select Convert to Template.
!! This is irreversible — make sure the configuration is correct!
Cloning VMs from the Template
To deploy a new node:
- Click the template → select Clone.
- Choose Full Clone, assign a new VM ID and name.
- Once booted, install the QEMU guest agent:
sudo apt update
sudo apt install qemu-guest-agent -y